Step 1: Inspect the Roof Bars for Physical Damage
-
Check for Bends or Cracks: Carefully examine the roof bars for any signs of bending, cracking, or other structural damage. Even small cracks can significantly compromise the integrity of the bars.
-
Look for Rust or Corrosion: If your roof bars are metal, check for rust or corrosion, particularly at the joints and mounting points.
Step 2: Ensure Proper Installation
-
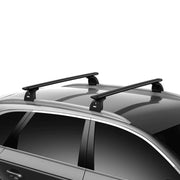
Check the Mounting Points: Make sure the roof bars are correctly aligned and firmly attached to the vehicle's mounting points or roof rails. There should be no movement when you gently shake the bars.
-
Verify Tightness of Fittings: All fittings, bolts, and screws should be tightly secured. Use a wrench or appropriate tool to tighten any loose components.
Step 3: Review the Locking Mechanism (if applicable)
-
Test Locks and Keys: If your roof bars have a locking mechanism, ensure they lock and unlock smoothly. Lubricate if necessary.
-
Check for Wear: Inspect the locks for signs of wear or damage.
Step 4: Assess the Condition of Rubber Strips and Pads
-
Examine Rubber Parts: Look over any rubber strips or pads on the roof bars. These are essential for preventing damage to your vehicle’s roof and reducing noise.
-
Check for Proper Placement: Ensure that the rubber parts are correctly positioned and not worn out.
Step 5: Confirm Compatibility with Accessories
-
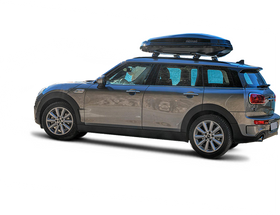
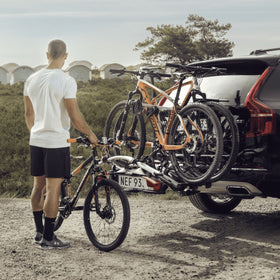
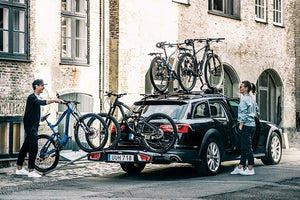
Accessory Fit: If you use accessories like bike racks or cargo boxes, check that they fit securely onto the roof bars and that there is no movement or instability.
Step 6: Validate Load Capacity
-
Know the Weight Limit: Be aware of the maximum weight capacity of your roof bars and ensure you never exceed this limit. Overloading can cause damage and pose a safety risk.
Step 7: Conduct a Final Overall Check
-
Visual Overview: Do a final visual check to ensure everything looks in order and there are no loose parts or unusual wear.
-
Shake Test: Gently shake the roof bars to confirm stability and the absence of any rattling or movement.
Step 8: Regular Maintenance
-
Clean Regularly: Keep the roof bars clean to prevent dirt buildup and rust.
-
Regular Re-checks: Perform this safety check periodically, especially before long trips or when carrying heavy loads.
Conclusion
Regularly performing a safety check on your roof bars not only extends their life but also ensures the safety of your vehicle, its occupants, and other road users. Always follow the manufacturer’s guidelines for care and maintenance, and if you spot any significant damage or wear, consider replacing the roof bars or seeking professional advice. Remember, safety always comes first, especially when it comes to vehicle modifications and accessories.